

In Aras Innovator 11 SP9, Aras introduced the new Form Preview feature to the main grid. This allows users to select a row and see the item's form in a preview pane on the main grid. Administrators can also configure custom "preview" forms that are rendered in the preview pane instead of the ItemType's default view form. In this post, we walk through how you can take advantage of the Form Preview feature and custom forms to implement an image previewer.
The main grid offers three views - grid view (preview off), property preview, and form preview.
Implementing an Image Preview
Using the Form Preview feature, we can implement the image previewer with two easy configuration steps. No code required! (These steps include some HTML/CSS to style the item's name, but it's not required to achieve the image preview functionality.)
Adding the ItemType View
The "preview" view will be rendered in the main grid's preview pane.
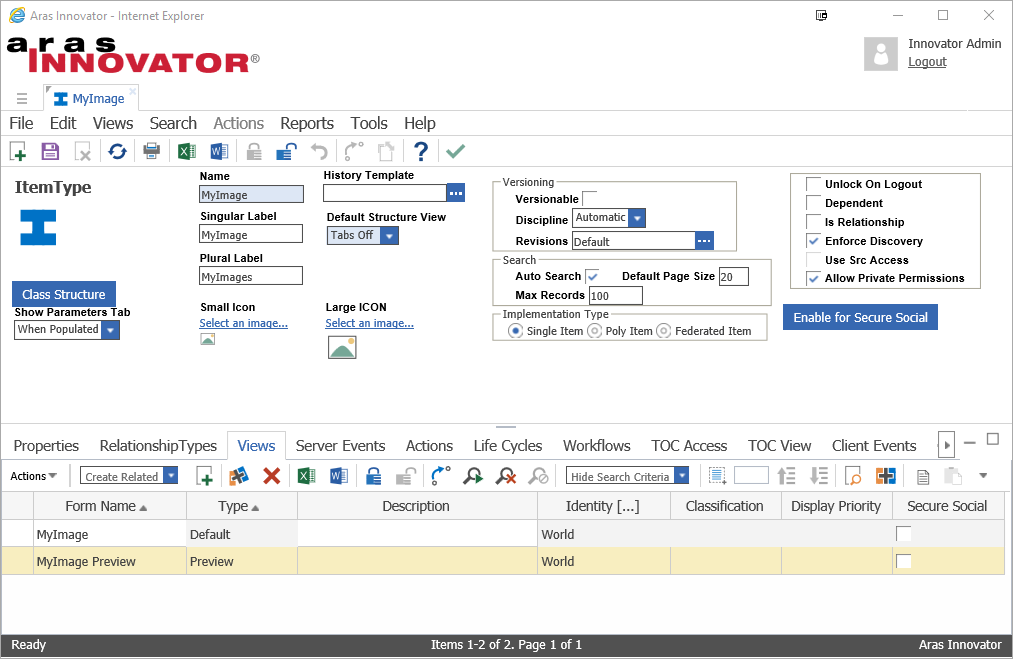
- Open your ItemType for editing and select the Views tab.
- Select Create Related from the drop-down list in the Relationship Grid toolbar.
- Click the New Relationship button to add a View to the ItemType.
- Fill out the View properties:
- Form Name: <ItemType Name> Preview
- Type: Preview
- Identity: Select the identity allowed to view the form.
- Save the ItemType and open the new Form.
Designing the Preview Form
Creating the preview form for the 'MyImage' ItemType.
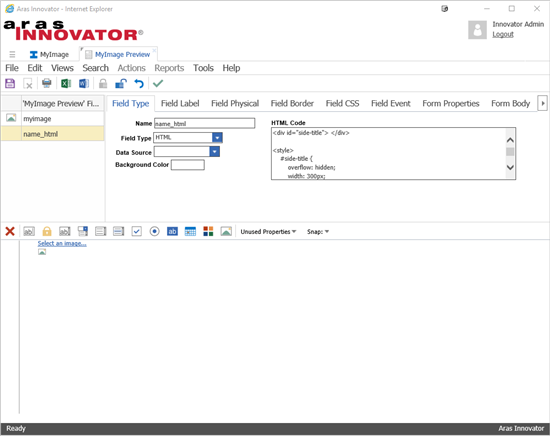
- Lock the new Form for editing.
- In the form editor toolbar, select an image property from the Unused Properties drop-down list.
- Position the image property in the form.
- In order to provide a consistent view, we will set the height of the displayed image using CSS.
- Select the Form Body tab.
- Paste the following into the CSS field:
img { height: 300px; }
- Next, add a new HTML field to the form.
- Select the Field Type tab and paste the following code into the HTML Code field. This code displays the item's keyed name in a div, rotated 90 degrees counter-clockwise.

Viewing the Preview
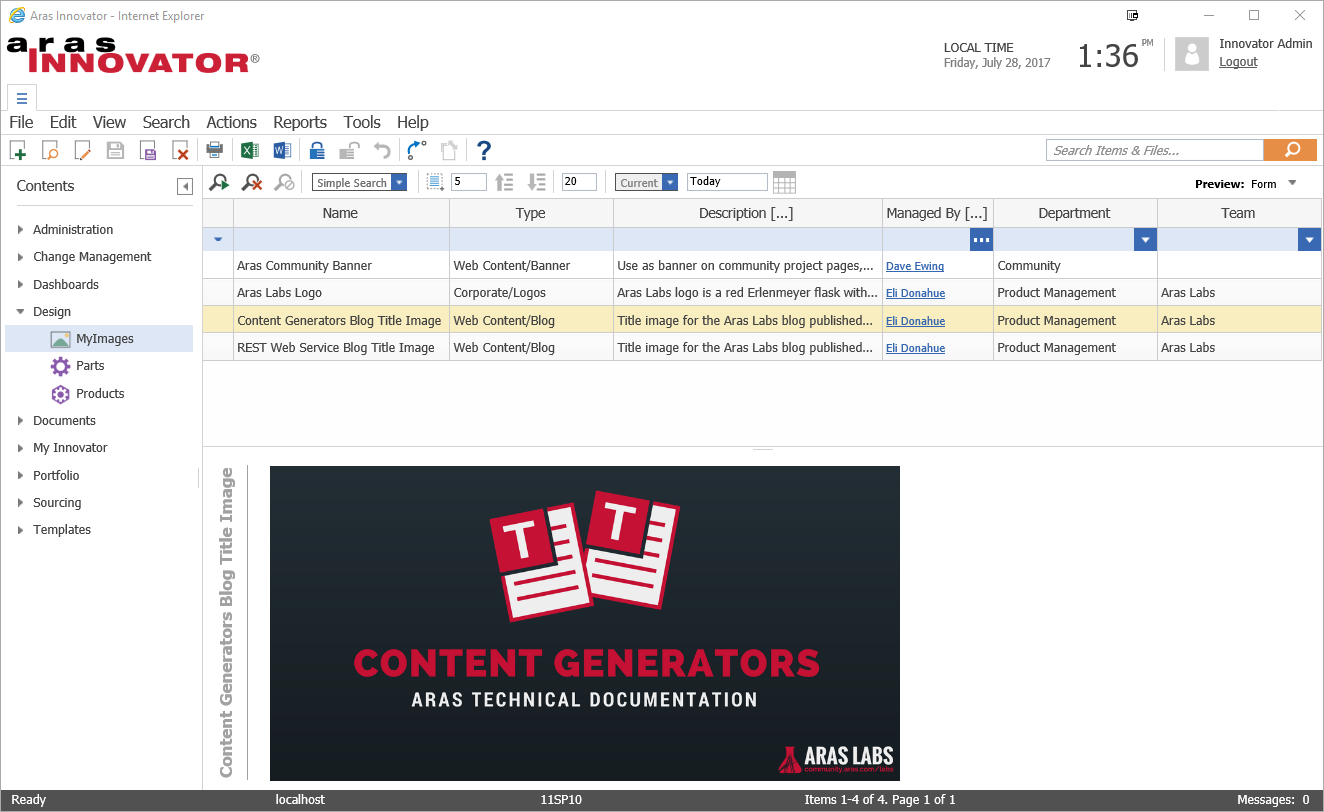
Selecting a row from the grid renders the custom form in the preview pane.
- Save, unlock, and close the Form and the ItemType.
- Navigate to your ItemType in the TOC.
- Run the search and select (but do not open) an item.
The new preview form will appear in the Form Preview pane, showing the item's image property without opening the item's default form.
LOOKING FOR MORE ARAS INSPIRATION?
Subscribe to our blog and follow @ArasLabs on Twitter for more helpful content! You can also find our latest open-source projects and sample code on the Aras Labs GitHub page.